Installing Purlins on the Tiny House
Purlins are horizontal support members that sit on top of the rafters. The roofing material is then fixed onto the purlins. In this video, Alan from Bio Build Ltd shows us the process behind fastening the purlins to the steel rafters of our Tiny House.
For this job we are using wooden (lawson cypress) purlins that measure 45x70mm. We chosen wooden purlins to assist in adding a thermal barrier between the roof and the steel. Lawson Cypress is sustainably grown here in New Zealand. It’s a very lightweight wood with a high tensile strength which makes it perfect for use in a Tiny House. Our Lawson Cypress is sourced from St. Lukes Timber.
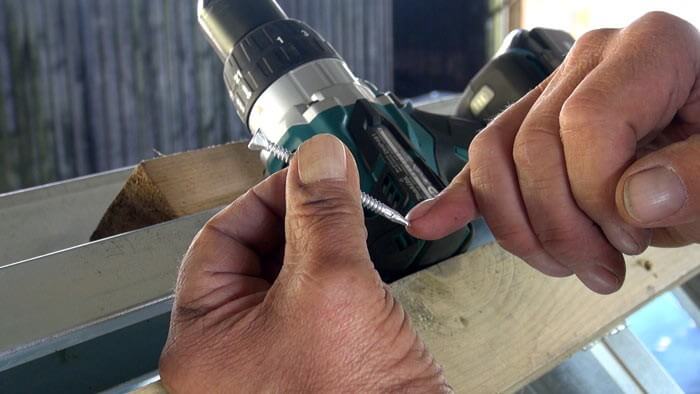
To secure the Purlins into the rafters, we are using 65mm Class 4, 10 gauge, self tapping, wingtek screws from Fortress Fasteners. These have a heavy galvanising on them so will stand the test of time, even in a marine environment. The Wingtek allows the screw to drill a pilot hole in the wood. The wings then break off when the screw hits the steel, allowing the screw to bite into it.
As a kind of damp-proof course (DPC), we are using window flashing tape from ThermaKraft. DPC is used to create a moisture barrier between the metal rafters and the wooden purlins.
When it comes to spacing of the purlins, this varies depending on the kind of roofing material that you are using. It’s best to check with your roofing supplier to see what they recommend.
It’s so exciting to see physical progress being made on the house! In our next video, we will be looking at the cavity battens and building wrap.


